 →
→ How to Make Homemade Rye Bread
This post may contain affiliate links. Please read my disclosure policy.
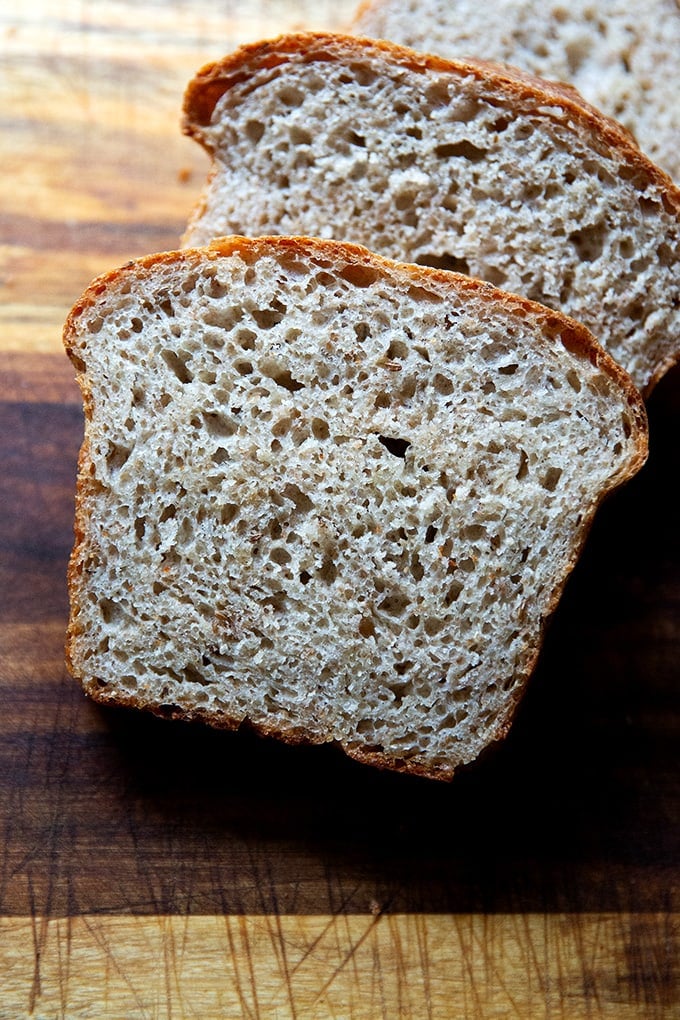
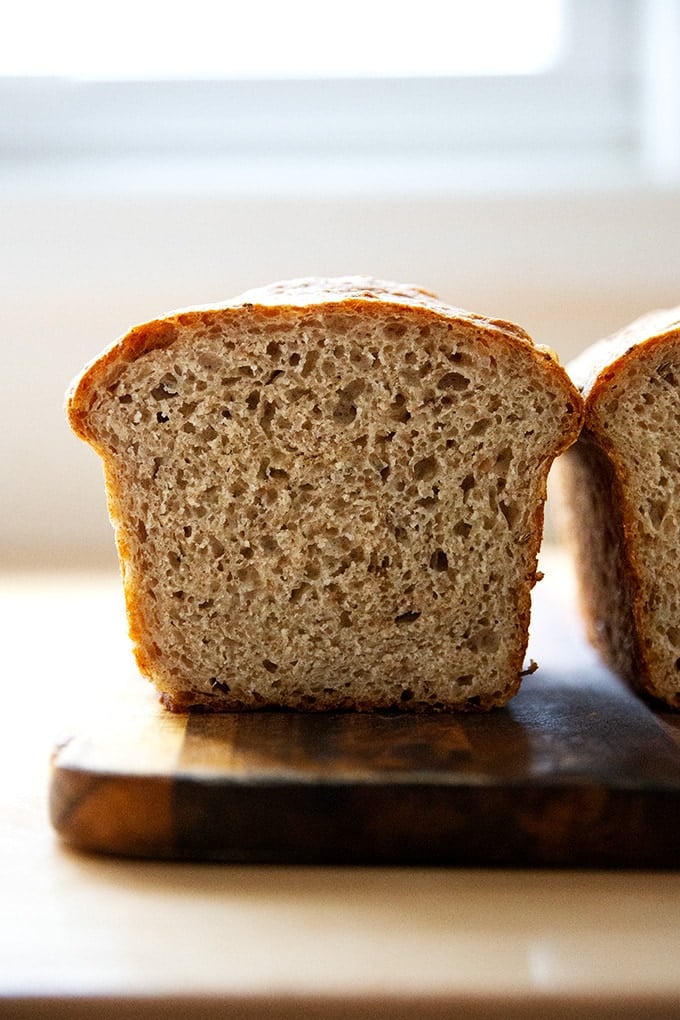
Made with a mixture of bread and rye flours, a small amount of honey, and a few teaspoons of caraway seeds, this simple no-knead rye bread tastes beautifully tangy with a hearty, chewy texture perfect for sandwiches or toast. It comes together in no time and bakes in a single loaf pan, but the recipe can be doubled, and the baked bread freezes very well.
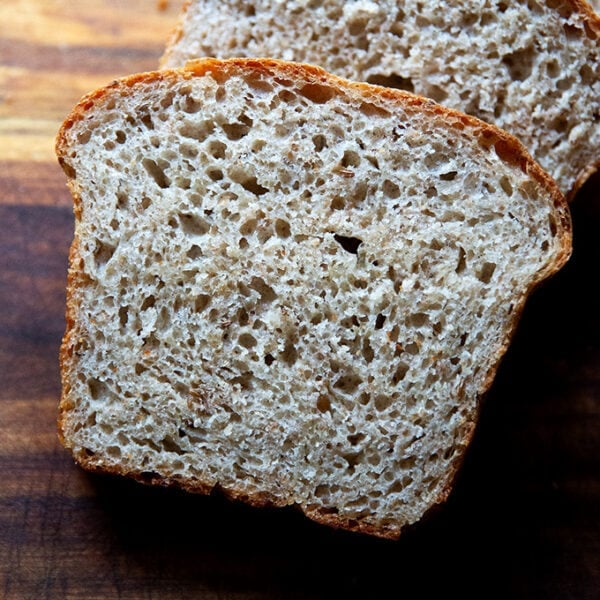
Rye bread has a reputation of being dense and heavy as well as aggressively sour in flavor. While some people love these qualities, others do not. I love a rye bread with a subtle tang and a hearty but not leaden texture.
This no-knead rye bread is just that: made with a mixture of bread and rye flours, the texture of the finished loaf is light enough for a sandwich but makes excellent toast as well. A small amount of honey balances out the sourness and lends a nice chew, while caraway seeds, which can be left out, impart subtle notes of citrus and anise.
This recipe calls for 1 cup of rye flour and 3 cups of bread flour, and while you could play around with increasing the proportion of rye in this recipe (which is roughly 20% by weight), keep in mind that the more rye flour you use, the denser your bread will be. Why? Read on.
How Rye Flour is Different Than Other Wheat Flours
- Higher in Bran and Minerals: Flour with a high amount of bran and minerals will produce bread that is lower in volume because the sharp shape of the bran cuts the gluten network.
- Different Proteins + High in Pentosans: Wheat flour contains two gluten-forming proteins: glutenin (which promotes elasticity) and gliadin (which promotes extensibility). When these proteins mix with water, gluten begins forming. Rye flour on the other hand contains gliadin and a protein called glutelin (similar to glutenin). It also is high in pentosans (a polysaccharide composed of carbon sugars). The pentosans absorb water and compete with the gliadin and glutelin for moisture, which inhibits the development of gluten in rye breads.
Homemade Rye Bread, Step by Step
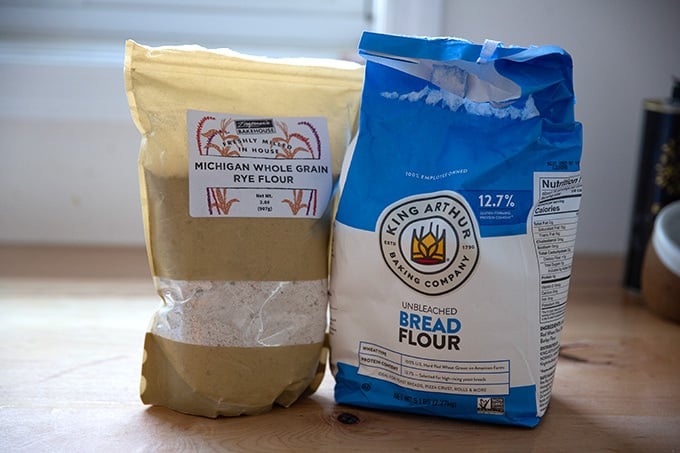
This recipe calls for a mix of rye flour and bread or all-purpose flour.
Please use a scale to measure! It is the only to ensure you are measuring accurately.
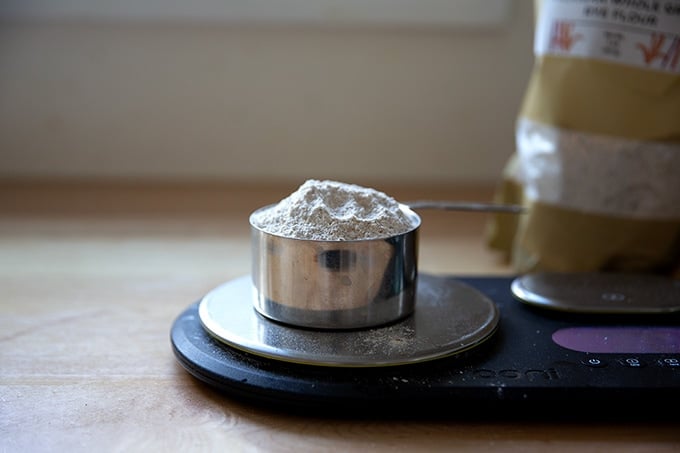
Once you have your ingredients measured accurately…
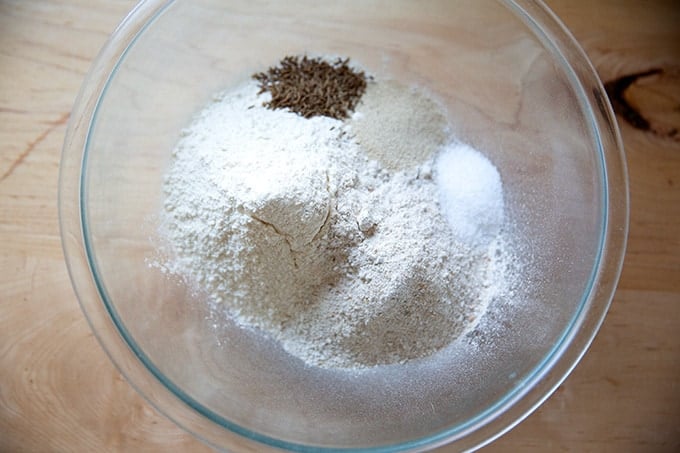
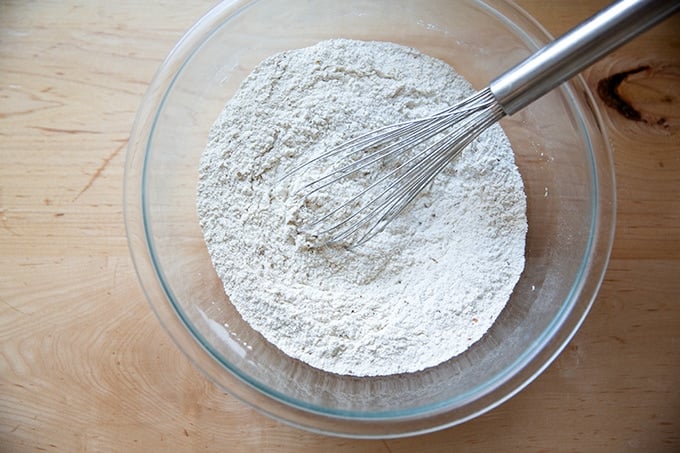
whisk together the flours, salt, instant yeast, and caraway seeds, if using.
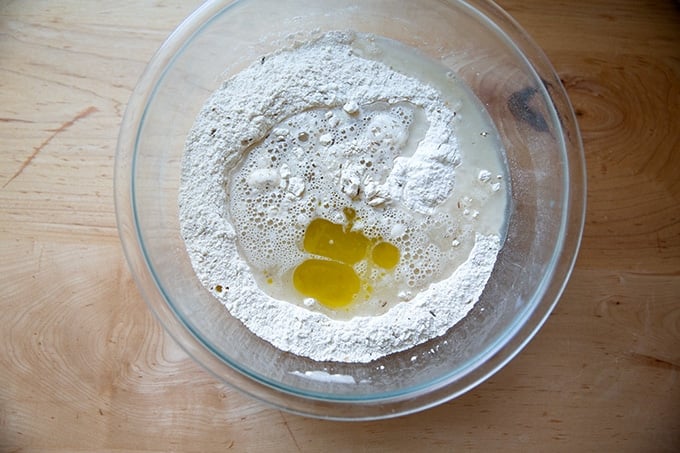
Whisk together the water and honey until the honey dissolves, then add the mixture to the bowl, followed by the oil.
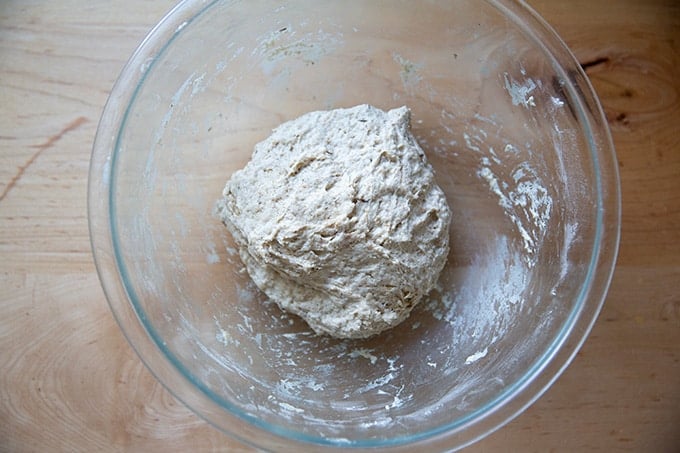
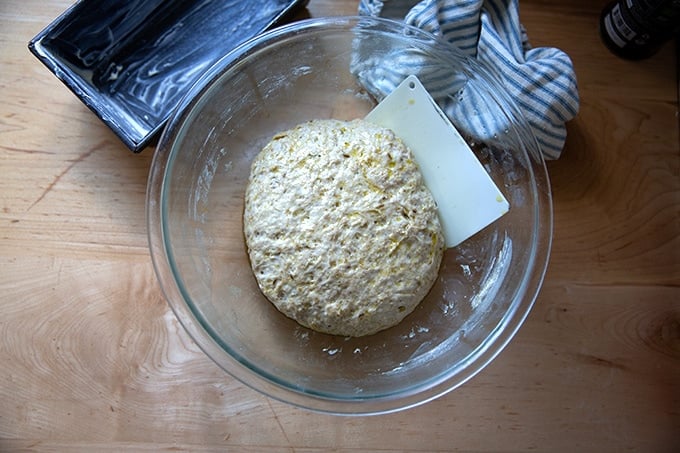
Stir with a spatula until you have a sticky dough ball.
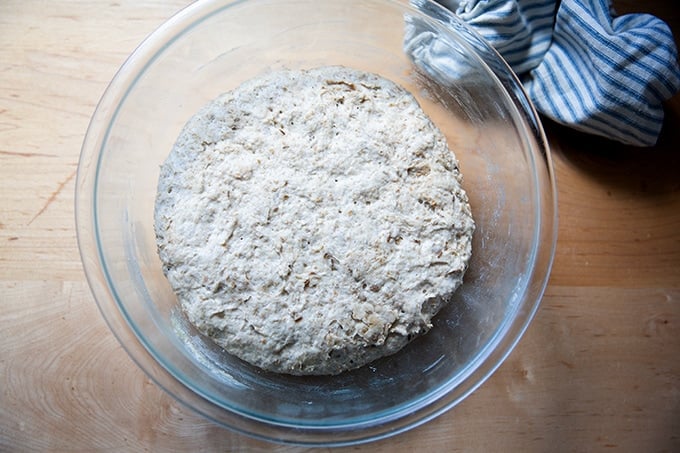
Cover the bowl and let rise until doubled, 2 to 3 hours.
Rub the surface of the dough with a tablespoon of oil, then deflate the dough.
Turn the loaf over, then roll into a loaf shape.
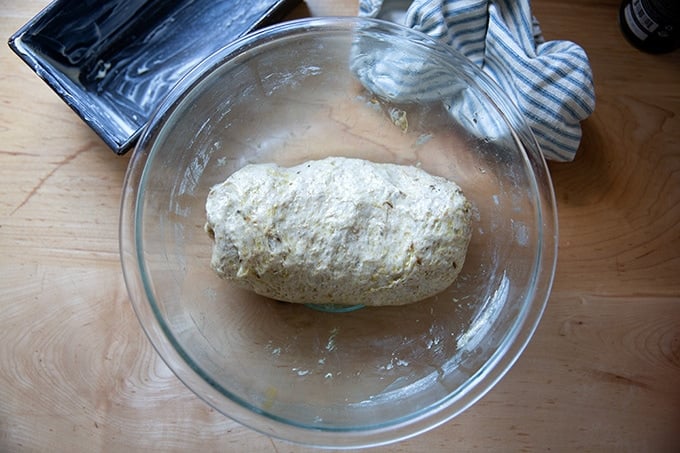
This video may help:
Transfer to a buttered 8.5×4.5-inch or 9×5-inch loaf pan.
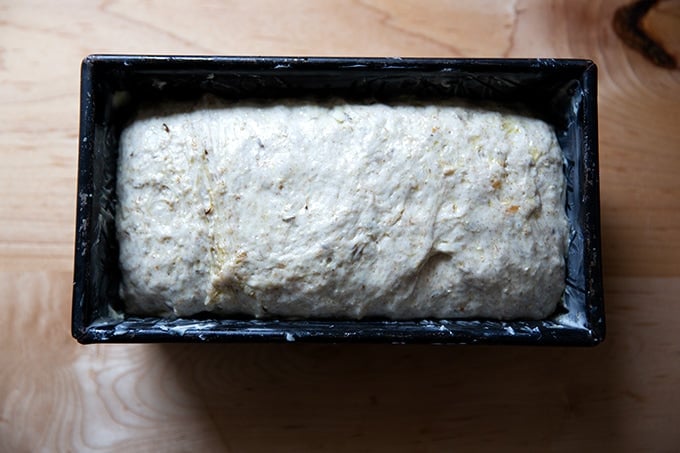
Let rise until the dough crowns the rim of the pan by about an inch.

Bake for 45 minutes at 375ºF.
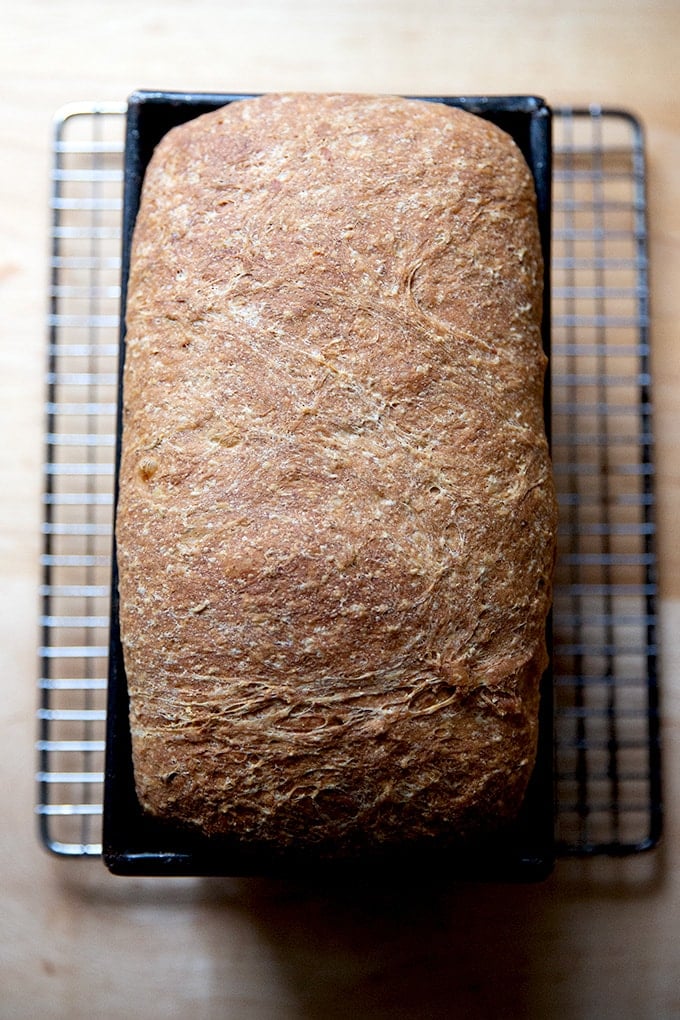
Let cool for at least 30 minutes before slicing. I like to slice it, then freeze it in bundles of 3 to 4 slices.
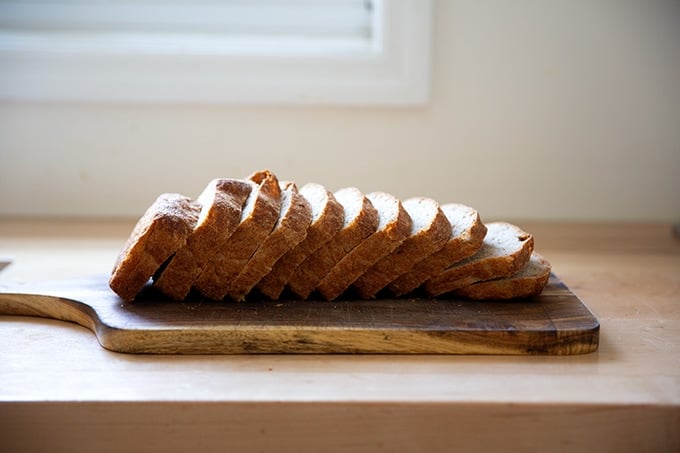
Like the maple-oat bread and the three-seed bread, this one makes great toast:

How to Make Homemade Rye Bread
- Total Time: 5 hours 45 minutes
- Yield: 1 loaf 1x
- Diet: Vegetarian
Description
Adapted from my cookbook, Bread Toast Crumbs.
Notes:
Flour: You could play around with increasing the proportion of rye flour in this recipe (which is roughly 20% by weight), but keep in mind that the more rye flour you use, the denser your bread will be. This is because rye flour is high in bran, the sharp shape of which cuts the gluten network, inhibiting its ability to trap air and produce a lofty loaf of bread.
Salt: I always use Diamond Crystal kosher salt. If you are using Morton’s kosher salt or fine sea salt use half the amount by volume or the same amount by weight.
Yeast: If using active dry yeast, sprinkle the yeast over the lukewarm water-honey mixture and let stand for 10 minutes; then proceed with the recipe.
Caraway: If you don’t like the flavor of caraway, simply omit the seeds or use less: 1 to 2 teaspoons or to taste.
Ingredients
- 3 cups (384 g) bread or all-purpose flour
- 1 cup (96 g) rye flour, see note
- 2 teaspoons (10 g) kosher salt, see note
- 2 teaspoons (10 g) instant yeast, see note
- 1 tablespoon (9 g) caraway seeds, see note
- 1.75 cups (395 g) lukewarm water
- 2 tablespoons (42 g) honey or maple syrup
- 2 tablespoons (28 g) extra-virgin olive oil, divided
- Softened unsalted butter, for greasing
Instructions
- In a large bowl, whisk together the flours, salt, instant yeast, and caraway seeds, if using. In a medium bowl, whisk together the water and the honey until the honey is dissolved. Add to the flour, followed by 1 tablespoon of the oil. Using a rubber spatula, mix until the liquid is absorbed and the ingredients form a sticky dough ball.
- Cover the bowl with a damp tea towel or a cloth bowl cover or plastic wrap and set aside in a warm spot to rise for 2 to 3 hours, until the dough has doubled in volume.
- Preheat the oven to 375ºF. Grease an 8.5×4.5-inch (or 9×5-inch) loaf pan generously with softened butter.
- When the dough has doubled, drizzle the remaining tablespoon of olive oil over the top and use your hand to rub the oil over the surface to coat. Use your hand again to release the dough from the sides of the bowl, then flip the ball over so that the oil side is down. Roll the dough into a coil or into a loaf shape, then transfer to your prepared pan seam side down. Watch this video for guidance.
- Let the dough rise on the countertop (preferably in a warm, draft-free spot) for 45 minutes to an hour or until the dough has risen significantly in the pan — it should be doming above the rim of the pan by about one inch. See photos for reference.
- Transfer the pan to the oven and bake for 45 minutes, or until the top is evenly browned. Remove the pan from the oven and turn the loaf out onto a cooling rack. Let the loaf cool for at least 30 minutes before slicing.
- Prep Time: 5 hours
- Cook Time: 45 minutes
- Category: Bread
- Method: Oven
- Cuisine: American
This post may contain affiliate links. Please read my disclosure policy.


468 Comments on “How to Make Homemade Rye Bread”
Ali, this was another winner like all your other recipes! 🙂 Your directions were foolproof and the video was a big help. My husband has to avoid seeds so I ended up grinding up the caraway seeds finely in a spice grinder and got that traditional flavor in that way. That was the only alteration I made. It came out perfectly and went well with the smoked salmon I had on hand. It does indeed toast up beautifully. The two of us demolished it in 24 hours! Thanks for making baking great bread so easy. I can’t wait to make this one again.
So nice to read all of this, Diane! Love the idea of grinding up the caraway… I bet it infused the entire loaf with subtle flavor. And how nice to serve it with smoked salmon. Thanks for writing and thank you for your kind words 🙂
Looking to make some bread, but I have dark rye flour. Can that be used to substitute the rye flour given in the recipe?
That should work just fine!
Hi Diane – I don’t like caraway seeds in my rye bread, so if I make this I also don’t plan on putting in the seeds whole. When you ground up the caraway seeds did you decrease the amount or use the same amount that the recipe calls for? TIA!
The bread turn out wonderfully! I am not a baker and I’ve had several failed attempts at other breads. Thank you for an easy to follow recipe. I was looking for a homemade bread that was quite healthy. I love the flavor of the caraway seeds, do you think I could do 2 tablespoons Instead of one or would it make it too dense?
Great to hear, Julia! I do think you could use 2 tablespoons without making the loaf dense. Go for it 🙂
I like to use rye flour for my bread but have recently been reading about sorghum flour. Do you think these two flours would complement each other. love your recipes and intend buying your book. Thank you.
Hi Libby, The only issue with sorghum flour is that it’s gluten-free, so if you were to use it in this recipe, you will likely find the dough to be very sticky, and it might also not rise very well.
Thank you for your quick response. From your comments it would appear sorghum no good for this recipe so will leave well alone and just use sorghum for porridge at this stage. Cheers from Victoria Australia.
Just made this and it is AMAZING! Tried a different recipe before and wasn’t happy with it so I gave yours a try.
I used my oven for the first rise (just turned on the oven light to keep it warm). For the second rise, I used the bread proof feature on my oven. Once done, I just left the bread in the oven and turned the temperature up to 375 without preheating (didn’t want to take my loaf out and have it fall). This sped up the second rise and saved the preheating time.
I would kindly suggest you add a final internal temperature to the recipe so people know when the loaf is done baking…I always like to check this.
Great to hear, Steve! Thanks so much for writing and sharing these notes. I generally like to remove these types of breads from the oven when the internal temp is around 205ºF.
As always, your bread recipe don’t disappoint. I made it last week and it was awesome. I have 2 more loaves in the oven now.
Great to hear, Mary Ann! Thanks so much for writing and sharing 🙂
great recipe
Great to hear, Lena!
I am having trouble finding light rye flour other than something on Amazon. Any suggestions?
Hi! Can you not find any rye flour or specifically light rye flour. Where are you located? Sometimes I do an InstaCart search just to find a local store near me that carries whatever ingredient I am on the search for. Are you opposed to ordering online or just from Amazon?
I’m confused about the changes to the original recipe. Is the recipe at the top the original recipe?
Hi! The original recipe is in my cookbook, Bread Toast Crumbs.
This might be the tastiest bread I’ve ever made, and so easy! The smell and taste of this bread, warm, with some Irish butter spread on a slice, lifted me to heaven. I can’t wait to share it with family. Thanks for an amazing recipe!
Caraway seeds can be expensive, especially in those small name-brand bottles. It’s worth shopping around online. I found a larger bottle at a great price, and I’m glad I picked it up. I’m sure to be using it!
Great to hear, Frank! Thanks so much for writing and sharing all of this 🙂
Flavor is on point.
Mine rose, but then dipped a little in the center. I’m not sure what I did wrong.
Hi! Did you use a scale to measure? It sounds as though it might have just needed a longer bake or that you may need to reduce the water.
I found this to be sooo easy. Is it possible to mix dark rye with whole wheat flour? Would that just involve a longer rise time?
Anyways, the bread was chewy with a buttery crust and a nice sour, salty and slightly sweet taste.
Great to hear, Fiona! Thanks for writing. Are you hoping to replace all of the bread flour with whole wheat flour?
Can this be made in a 13″ Pullman loaf pan?
Hi Phil! Yes, it can, but it will be a much shorter/squatter loaf.
I am going to make this tomorrow but use home milled flour for the rye. Do you have any suggestions for adjusting the recipe, or make as-is? I was thinking of adding a half tablespoon of sunflower lecithin to help with the rise. Thanks!
Hi Steve! I’m not sure how to advise as I have not tried with home milled flour, but I have two thoughts: you potentially might need to add more water, but you might not know until you mix the dough… if the mixture seems dry, just add more water slowly. My next thought would be to add a set of stretches and folds 30 minutes after you mix the dough. Are you familiar with stretches and folds?
Thanks Alexandra! I am going to make it today instead so will carefully add more water if needed and do the stretch and folds 30 minutes after, which I’m familiar with.
Not to crowd your comments section, but it turned out very well with home milled rye flour. A little bit denser crumb than yours, but I’m used to that now and the flavor was amazing. I added a little less than a tablespoon of sunflower lecithin and tried a stretch and fold after 30 minutes of mixing it together but it just was too fragile still. Next time I might try that after an hour.
I ordered some King Arthur rye and next week am going to see what the difference in the result is between home milled and processed rye.
Thanks again!
Thanks for circling back, Steve! I think waiting an hour to do the stretches and folds is a good idea. I will be curious to hear how your loaf compares when using KA rye. I’m going to have to do some research on sunflower lecithin as I’ve never used it but it sounds like something that would be helpful for others looking to use their home-milled flours, which more and more people are doing these days.
If my dough has doubled in 30 minutes is that a problem? Should I still wait at least an hour?
Hi Kirstie, yes, I would! Also, wow. Next time, you’ll be able to get away with using less yeast (try 1 teaspoon) and cold water.
Why use butter? Why not use olive oil in its place??? It is there as an “anti-stick” aid. For those who stick to Jewish dietry law, if you use butter or milk at all in this or similar recipes, you will run into problems with Kashrut if you wish to put meat on the resulting bread.
Hi Alan! With some pans, olive oil alone won’t prevent sticking. If you know that olive oil alone works — it does with my USA Pan and a few others — then go for it. But if you are at all concerned about sticking, then I’d consider using a non-stick spray.
Excellent bread recipe, thank you
I was looking for a no kneed whole wheat bread recipe but do not see one, have you developed a recipe that yields as light and airy whole wheat loaf as this rye bread is?
Once again thank you, will make it again and again
I have not! I will keep you posted if I do 🙂
Looking to make some bread, but I have dark rye flour. Can that be used to substitute the rye flour given in the recipe?
I would imagine! Go for it 🙂
Omg! My bread was delicious following your recipe. My question is can I let it rise overnight first in a warm area, then put in refrigerator overnight until ready to do the final steps?
Great to hear, Lisa! Yes, use cold water and 1/2 teaspoon instant yeast. Let it rise at room temperature overnight, then proceed with the recipe, getting the dough coiled up and in the loaf pan. Before transferring the pan to the fridge, tuck it into a 2-gallon zip-top bag or cover with plastic wrap to ensure the dough doesn’t dry out/form a crust. With that in mind, for the first rise, if you have a bowl with a lid, that is ideal, or you should over the bowl with plastic wrap to ensure a crust doesn’t form on the dough during the long, slow rise.
Depending on how much the dough rises in the fridge, you may or may not need to let it rise at room temperature before baking: if it’s crowning the rim of the pan, it’s ready to go in the oven; if it’s not, let it rise at room temperature until the dough crowns the rim of the pan.
Excellent recipe, I’ve made several times and comes out tasty each time. Would love to know how to increase the amount of rye flavor even at the expense of some loft.
Great to hear! I actually have a loaf in the oven as I type… I added a set of stretches and folds, and I think it’s made the dough stronger. I mention this because I think you might still be able to get some good loft with even more rye if the stretches and folds are employed. I will update the recipe with notes shortly.
My suggestion would be to start small: try increasing the rye by 25 grams and decreasing the bread flour by 25 grams. Take notes. Add more the next time around depending on your results.
Thank you for the helpful hints, I will give it a try!
Hello,
I love this recipe and made couple of times myself successfully. But in recent times the dough is turning to be very sticky and not workable. When i try to fold and transfer it to loaf tin, it doesn’t hold shape and sticks all over. Appreciate your valuable inputs.
Iam using king arthur rye flour and whole wheat flour.
Hi! To clarify, are you using 3 cups of whole wheat flour and 1 cup of rye flour? And are you using a scale to measure?
Iam using measuring scale and followed your recipe
OK, I think the issue is that you are using whole wheat flour in place of the bread flour. Whole wheat flour will make for a much stickier dough because all of the bran present — it cuts through the gluten, which makes it difficult for the dough to form a gluten network to trap air bubbles, which makes the dough stickier and the final loaf denser. I think if you use bread flour in place of the whole wheat flour, you’ll have a different experience. But, depending on where you are, you may need to reduce the water slightly — it it’s very humid where you are, for example, you may need to hold back some of the water from the start.
question here: how does the dough rise when there is no sour dough or yeast in the recipe ?
Hi! You must have missed the instant yeast in the recipe 🙂
This recipe delivers exactly what it describes- a perfectly delicious bread with a good crumb. I ordered your book after making my first loaf. Many thanks!
Awww thank you, Jody 🙂 🙂 🙂 Thanks so much for writing and sharing this. Means a lot.
This is my go-to recipe for sandwich bread and toast. Awesome taste and texture. Instead of caraway seeds I add 2-3 tablespoons of dried onion flakes while mixing water, flour, etc. Otherwise, follow Alexandra’s recipe and you’ll never go back to store bought bread again. Thank you!
Great idea!! Will try. Thanks so much for writing and sharing this. So nice to hear.
Hi Alexandra,
How would I use a sourdough starter in this recipe?
I’ve made your white sandwich bread recipe and it was wonderful.
Thanks,
Hi Andrew,
I think you could simply omit the yeast and use anywhere from 50-100 grams of fed/risen sourdough starter without making any adjustments to the amount of flour and water called for in the recipe. Follow the same process outlined in the sandwich bread recipe with the stretches and folds. I would use a straight-sided vessel for the bulk fermentation to make sure you are closely monitoring when the dough has increased in volume by 50-75%.
any chance you could give a rough timeline on this – still newer to sourdough baking and while I rely on look vs. time, the approx time will let me know how to plan?
Thank you.
It so much depends on the strength of your starter and the temperature of your kitchen. If you started at 8 am with a vibrant/active starter, you could count on 6-8 hours for the bulk fermentation, then another 3-4 hours for the final proof? Again, this may take more or less time depending on if your kitchen is warm or cool and if your starter is mature or young.
Thank you for responding. That seems very much in line with a honey whole wheat sandwich loaf I make so I think I will try this next time.
BTW made this as written and it is my new favorite!! It’s delicious.
Oh great to hear! Thanks so much for reporting back 🙂
The dough was really wet. I had to remove it from the bowl with a rubber spatula. I went ahead and baked it anyway, tasted good but was very dense.
Hi Bob! Apologies for the delay here. Questions: did you use a scale to measure? do you live in a humid environment?
Weighed everything.
Question: should the water be measured in grams or milliliters?
I followed the recipe exactly. I’ll try again next week.
btw, the bread is delicious! I sliced it and froze it in Ziplocs, three slices per bag.
Glad to hear, Bruce!
I always use grams … but on my scale the gram and milliliter measurements are the same.
Next time, you could try holding back some of the water. It is possible that given your environment and given the flour you are using — all flours, even bread and all-purpose flours, absorb water a little differently — it might make sense to reduce the water. See if holding back 50 grams of water makes a difference. You could also add a set of stretches and folds… are you familiar with that process?
I thought that 7 grams was 2 1/4 teaspoons but the recipe calls for 10 grams and says 2 teaspoons.
Hi Michael! Volume measurements are so inaccurate and we all measure differently, which is why the gram measurements are always the safest to follow. If you use 7 grams yeast here, the bread will turn out just fine, but the rise might take just a tiny bit longer.
Thank you I went ahead and used the 10 g measurement as listed
Great. Hope it turned out well for you!
I made the rye/caraway bread (which took me back 40 years when I used to buy it(!) from Waitrose (UK). I used to drive 10 miles to the shop! Now I have made my own. It was absolutely delicious!! We had it with homemade tomato soup. Today I am making it again, but have used my KitchenAid and dough hook. Let’s see how this turns out. Added more caraway seeds too. It kept really well too! Although I wanted to demolish it all in one day!
So nice to read all of this, Sandra! I have such fond memories of shopping at Waitrose when my Granny was still alive. Such a nice grocery store!! Thanks for writing 🙂
Hi tried making the rye bread but I found the mixture so sticky and couldn’t shape it like in your video, I had to tip into bread tin. It baked and tasted really nice but draped over the side of tin as it baked. Can you think of anything I did to cause this.
Hi! Did you use a scale to measure? What are the dimensions of your loaf pan?