 →
→ How to Make Fresh Homemade Pita Bread
This post may contain affiliate links. Please read my disclosure policy.
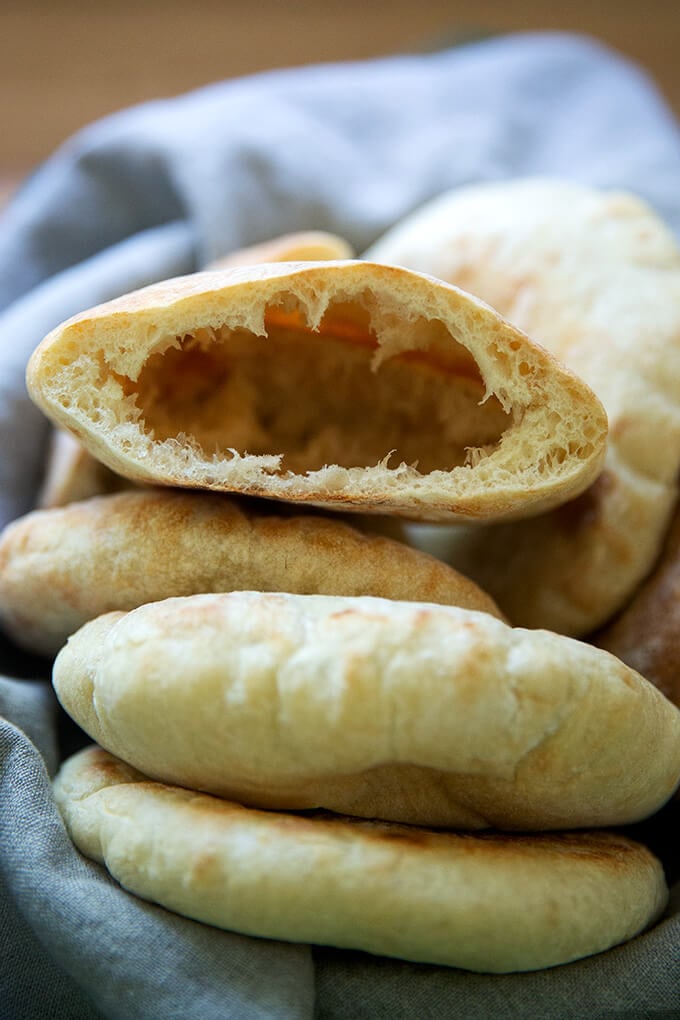
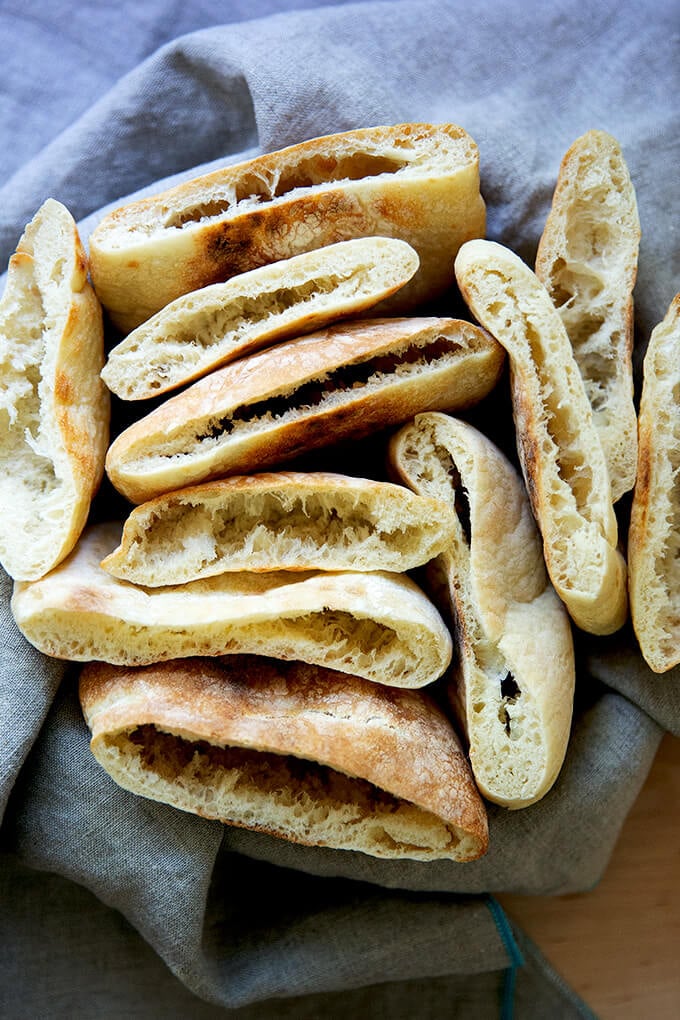
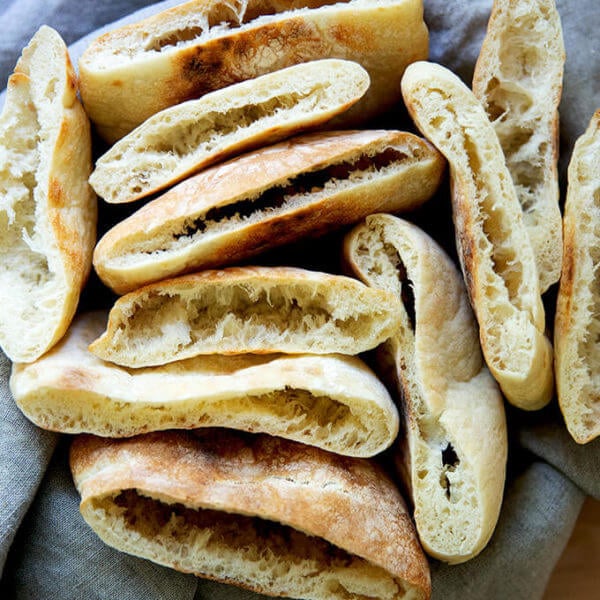
Making fresh pita bread at home couldn’t be easier. This recipe uses instant yeast and requires no kneading or complicated shaping. The pita rounds balloon into perfect pockets in 2 minutes in the oven. Read on to learn three tips for success!
Making pita requires neither kneading nor complicated shaping. It’s one of the easiest bread recipes you could make, in fact, right up there with no-knead focaccia and homemade pizza dough. The recipe below is essentially a half recipe of my mother’s peasant bread recipe with the sugar omitted, the hydration lowered, and the addition of a small amount of olive oil.
And while the overall process is simple, there are a few keys to success:
The Secret to Getting Pita to Puff in the Oven?
- Handle the dough gently during the rolling process. When you roll, use a gentle hand so that you don’t deflate all of the air bubbles created while the dough was rising.
- Allow the dough to rest. After rolling out your rounds, let them rest for 15 minutes, which will allow the dough to recover — it allows the gluten to relax — from the rolling process, which in turn will allow them to puff back up again slightly before baking.
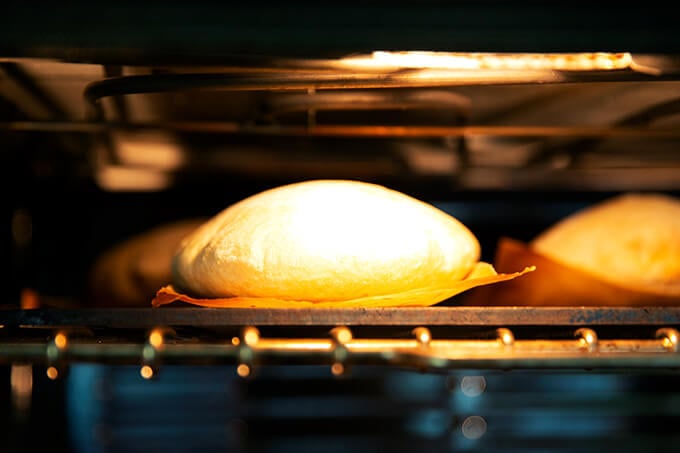
- Cook the pita on a hot surface. If you have a Baking Steel or pizza stone, cook your pita on it: as soon as the pita meets the hot surface, the heat will quickly transfer to the dough, making it instantly spring:
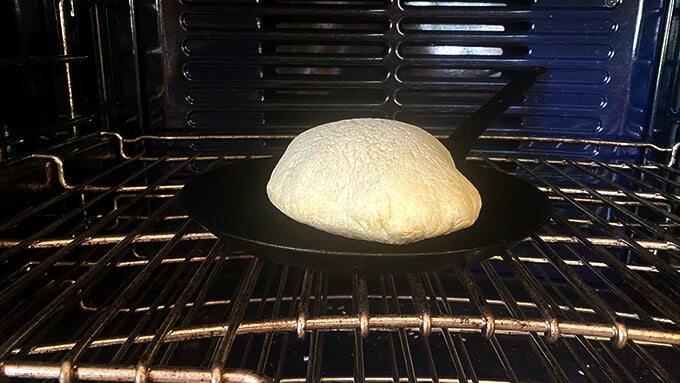
If you don’t have a Baking Steel or pizza stone, you can use a preheated cast iron or other oven-safe skillet (see recipe box for details):
Or you can use a preheated sheet pan (see recipe box for details):
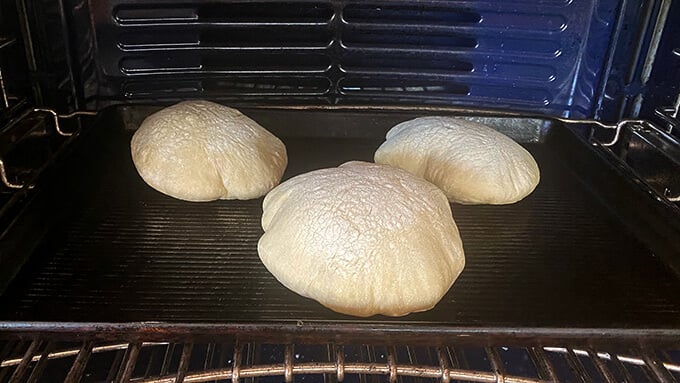
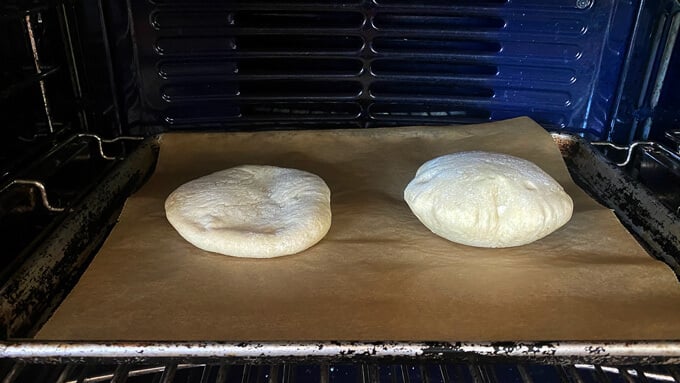
A non-preheated sheet pan will not work as effectively, see below: one pita puffed, one did not:
PS: Simple Homemade Naan (5 Ingredients)
How to Make Pita Bread, Step by Step
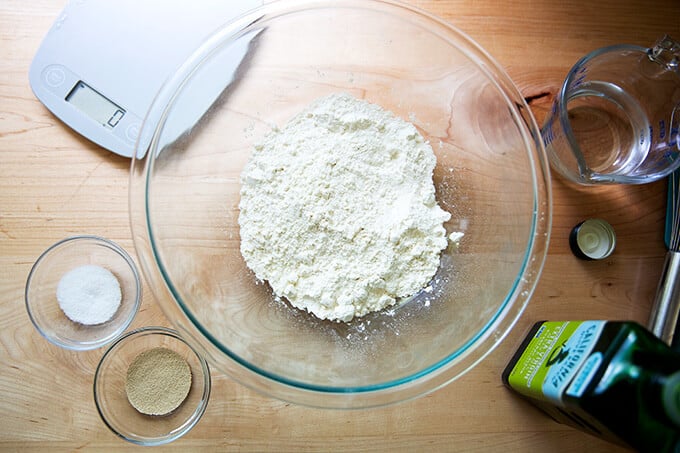
Gather your ingredients: flour, salt, instant yeast, water, and olive oil. As always, for best results, use a digital scale to measure.
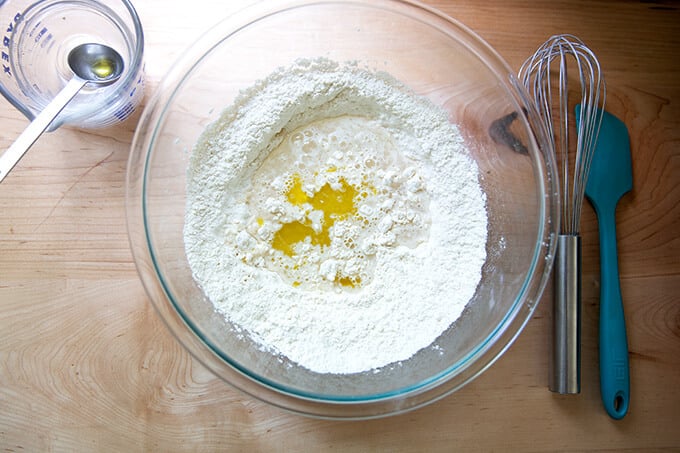
Whisk together the flour, salt, and instant yeast. Add the water and olive oil.
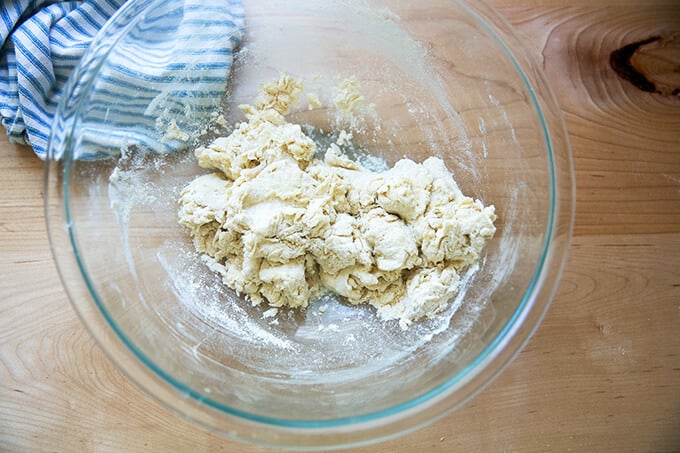
Mix with a spatula until you have a shaggy dough — mixture will feel dry.
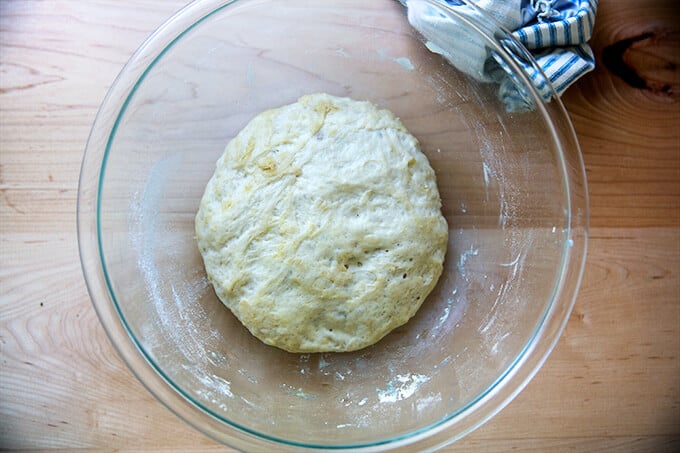
Use your hands to briefly knead the mass into a dough ball. Drizzle with olive oil. Turn to coat. Cover bowl with a cloth bowl cover, and let rise in a warm spot for 1.5 hours or until …
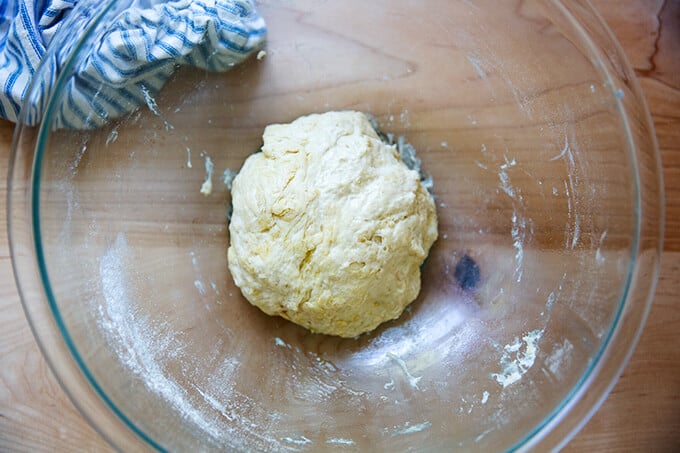
… slightly puffed.
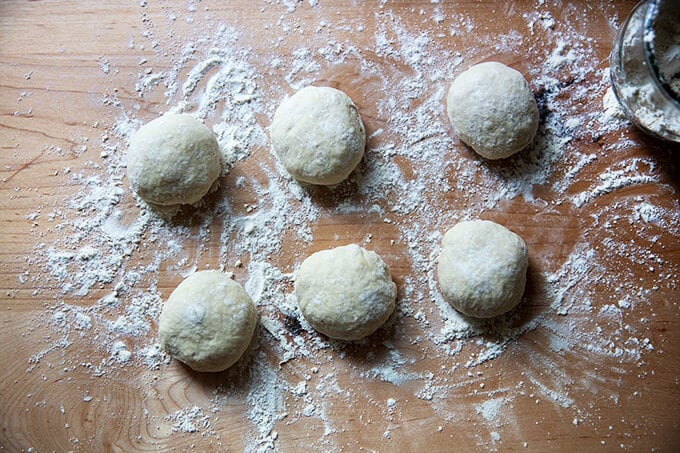
Turn out onto a lightly floured work surface, knead briefly, then use a bench scraper to divide the mass into 6 roughly equal portions. If you’re using a scale, each portion should weigh about 73 grams.

Shape each portion into a ball; then let rest for 30 minutes. This allows the gluten to relax: the brief rest will make them easier to roll out into rounds.
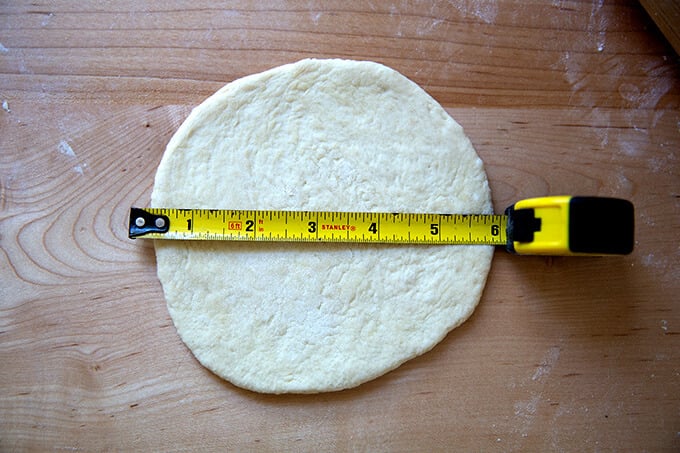
Flatten each ball with your hands; then working with one round at a time, roll into a 6-inch round.
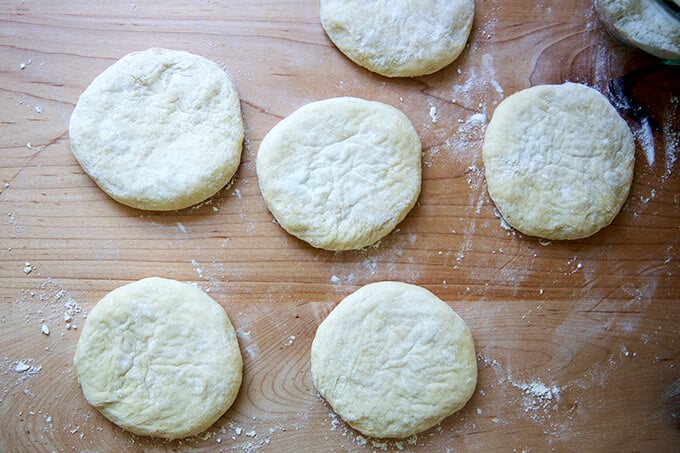
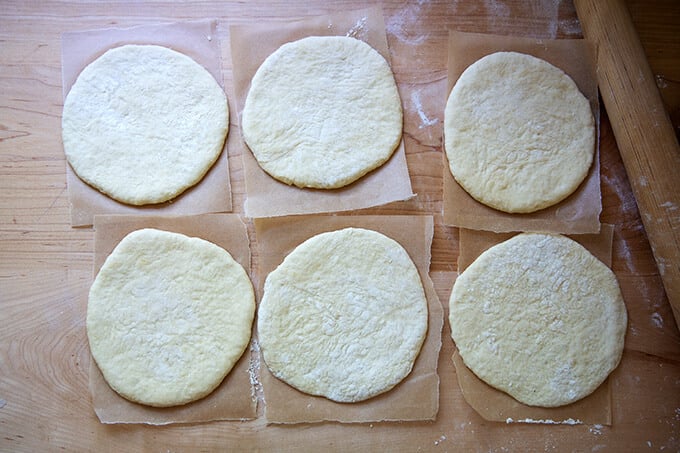
Transfer each round to a sheet of parchment paper. Let rest for another 15 minutes. Meanwhile, heat a Baking Steel or pizza stone to 550ºF. (Note: If using a stone, reference the manufacturer’s manual regarding heat tolerance.)
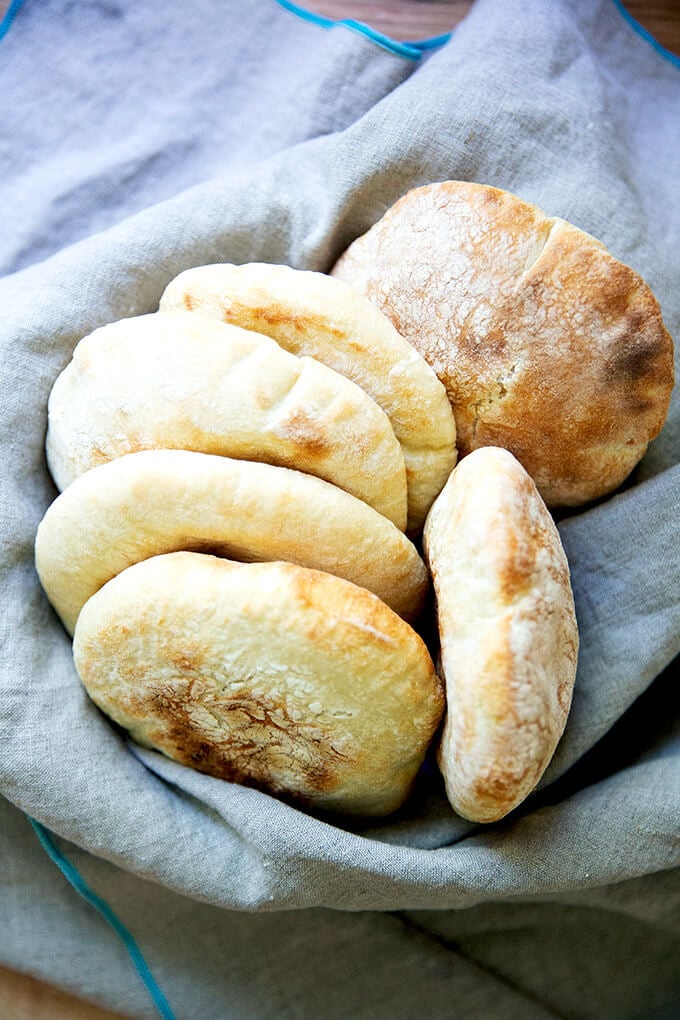
Bake three rounds at a time for 2-3 minutes, or until lightly golden.
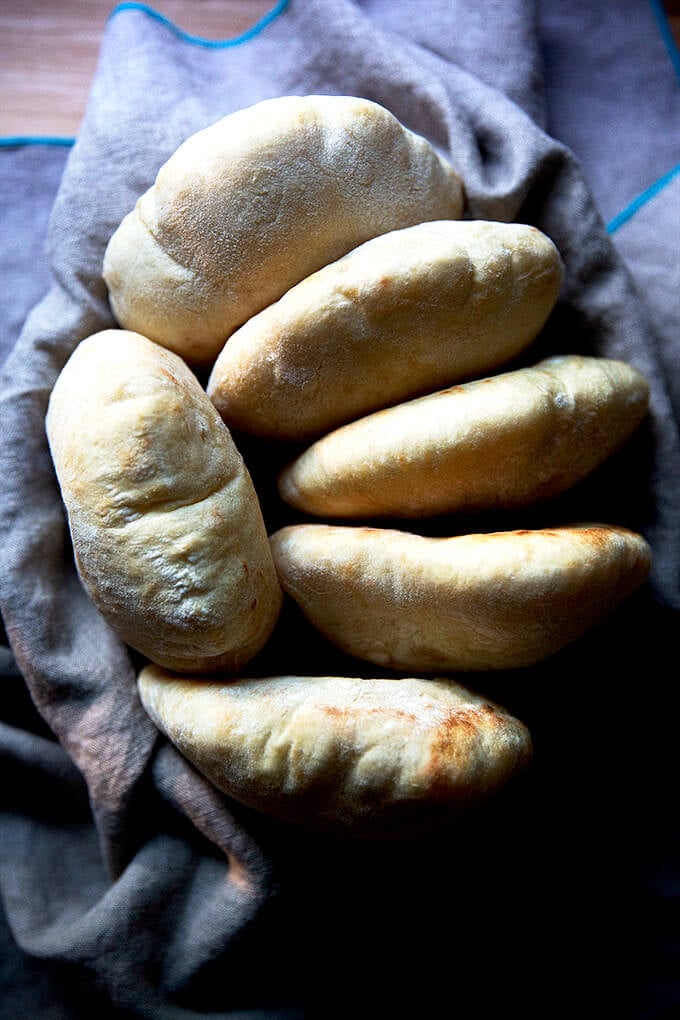
Transfer freshly baked pita to a towel-lined bowl. Wrap to cover until ready to eat.
How to Make Fresh Homemade Pita Bread
- Total Time: 3 hours 4 minutes
- Yield: 6 1x
- Diet: Vegan
Description
Making fresh pita bread at home couldn’t be easier. This recipe uses instant yeast and requires no kneading or complicated shaping. The pita rounds balloon into perfect pockets in 2 minutes in the oven.
Notes:
To create a warm place to rise: Preheat your oven for 1 minute; then shut it off.
Parchment paper sheets: If you buy parchment paper that comes in sheets, such as the If You Care brand, you can fold the sheet lengthwise, then into thirds widthwise, and cut along the creases to create 6 equal pieces.
If you don’t have instant yeast, you can use active-dry yeast. Simply sprinkle it over the lukewarm water, and let it stand for 15 minutes; then proceed with the recipe.
FAQs:
Can I use whole wheat flour?
I suggest using no more than 50% whole wheat flour (1 cup or 128g) in this recipe because using too much could prevent the pockets from puffing in the oven. The more whole wheat flour you use, the more bran there will be in the dough: bran cuts through the gluten structure, which can prevent the dough from puffing in the oven. Depending on the whole wheat flour you are using, you may need to increase the amount of water: whole wheat flour tends to be thirstier. Reference the video for how the dough should look; then add more water if necessary.
What if I don’t have a Baking Steel or pizza stone?
Here are two alternative methods:
- Place a cast iron skillet in the oven, and let it heat for at least 5 minutes; then bake each round one at a time for 2-3 minutes total.
- Place a sheet pan in the oven, and let it heat for at least 5 minutes; then bake three rounds at a time for 2-3 minutes total.
Ingredients
- 2 cups (256 grams) all-purpose flour, plus more for sprinkling
- 1 teaspoon (5 grams) kosher salt
- 1 teaspoon (4 grams) instant yeast, see notes above
- a scant 3/4 cup (165 grams) lukewarm water
- 1 tablespoon (14 grams) olive oil, plus more for drizzling
Instructions
- Mix the dough: In a large bowl, whisk together the flour, salt, and instant yeast. Add the water and oil. Stir with a spatula until a shaggy dough forms — the mixture will appear dry and unevenly mixed. Use your hands to knead the dough briefly in the bowl just until the flour is absorbed and you have a sticky ball, about 30 seconds. Drizzle a little olive oil over top, turn the dough to coat, cover bowl with a tea towel, and transfer to a warm place (see notes above) to rise for 1.5 hours.
- Prepare the oven: Heat the oven with a Baking Steel or stone inside at 550ºF. See notes above if you do not have a Baking Steel or pizza stone. Cut a sheet of parchment paper into 6 small pieces about 6-inches square, see notes above.
- Portion the dough: Turn out the dough onto a lightly floured work surface. Knead briefly to form a ball. Use a bench scraper to divide the dough into 6 equal portions — each ball should roughly weigh 73 grams. Using flour as needed to prevent sticking, ball up each portion, using the pinky edges of your fingers to create tension (see video for guidance). Let the portions rest for 30 minutes.
- Roll out each ball: Flatten one ball, and, using flour as needed, gently roll it out with a rolling pin until you have a 6-inch round — the key is to not roll too aggressively in order to prevent the air pockets from being forced out. If a round is resisting, set it aside, begin rolling out another one, and return to the stubborn one at the end. Transfer each 6-inch round to a sheet of parchment paper. Let rest for 15 minutes.
- Bake the pita: When the oven has preheated, use a pizza peel to shimmy one round at a time, parchment paper and all, onto the preheated Baking Steel. I like to cook 3 at a time. Set a timer for 2 minutes. If the pita is lightly golden, it’s done. Remove pita, transfer to a tea towel-lined bowl, and close the towel. Repeat with the remaining 3 rounds of pita.
- Store the pita: Store pita at room temperature in an airtight bag or container for 3 days or freeze for up to 3 months. Reheat before serving.
- Prep Time: 3 hours
- Cook Time: 4 minutes
- Category: Bread
- Method: Yeast
- Cuisine: Mediterranean
This post may contain affiliate links. Please read my disclosure policy.


568 Comments on “How to Make Fresh Homemade Pita Bread”
I made these this afternoon and they were WONDERFUL! All six pitas puffed up beautifully. I had posted a question earlier today asking about the positioning of the pizza stone in my oven, my top rack had the top of the stone only 2.5″ from the heating element and I was concerned that would be too close. I went ahead and tried it (I noticed in you video that your rack was in the top position) and while the pitas did come right up to the heating element, they didn’t scorch and were perfection. Thank’s so much for this recipe!!!
Yay! So great to hear this, Deana! Sorry I didn’t see your question in time, but I’m glad you experimented with the top rack and that it worked out. Isn’t it fun seeing the pita puff? Thanks for writing 🙂 🙂 🙂
Ali, I love your recipes and would like to attempt this one but my oven goes no higher than 450. Might this still work at that temperature if I allow my cast iron pan to preheat long enough? Thank you as always for putting bread making within reach of even timid bakers like me!
Hi Diane! I think that if you preheat your pan long enough it should work. My fingers are crossed for you. You could try one that way and see how it goes. You may get better results on the stovetop at full blast if they don’t puff. I’d hate for you to smoke out your kitchen, however. Try the oven!
My oven does the same. Took more like 5 or 6 minutes, but worked beautifully. All perfect! Great recipe!!
Great to hear Naomi!
Will this work using gluten-free flour?
Turned out perfect! So fun 😊
Great to hear, Cindy!
Does this work for whole wheat flour?
They pitas will probably be a little denser/not as light, but they should still puff. I might try using 1/4 cup of ww flour as opposed to 100% ww.
WOW!!! It’s been 4 weeks straight trying out pita bread recipes. All of them flopped except this one. It’s my go to recipe for my family shawarma Saturdays. Awesome
Yay! Great to hear, Ella. Thanks for writing 🙂 🙂 🙂
Has anyone tried these on a charcoal grill? I searched the comments but didn’t see any. If I try it, I’ll let you know. Thanks.
Hi,
Is it possible to use the sourdough starter instead of yeast for this recipe?
Thanks
Sure! Go for it.
If I’m making pitas tonight for tomorrow should I freeze them once they cool or refrigerate?
I can wait for your pizza cook book. I use your bread cookbook, I know that’s not the name, all the time.
Thanks,
Leigh
Hi and thank you so much. Means a lot 🙂
I would just stick them in an airtight bag and leave them at room temperature. And i’d heat them before serving: 350ºF for 15 minutes or so.
This is a great recipe for pita! I only had active dry yeast, and it turned out great. I appreciate the tip for leaving stubborn rounds of dough to sit for a few minutes and then roll again, because I had a couple stubborn ones lol.
Great to hear, Emily 🙂 🙂 🙂 Thanks so much for writing.
I made this last night to go with street cart chicken, and they were awesome! Cutting the parchment to 6 inch squares is a great idea. My kids loved rolling them out and watching them puff in the oven. I might make a bigger batch next time.
Great to hear this, Kate! Thanks so much for writing and sharing 🙂
I’ve tried so many recipes which have majorly failed. This recipe is amazing, thank you! These came out better than expected and really straight forward. I appreciate the step by step instructions.
Great to hear, Nina! Thanks so much for writing.
This recipe is FANTASTIC!!!!
The only issue with this recipe is that it produces only 6 🙂
I made them yesterday thinking I’m the only one who will eat and my two boys already finished them all, not even 24hrs later.
I don’t have a stone, so I heated the shallow cast iron that I have at my max temp of 480degrees and it worked beautifully.
Next time I have to double the amounts.
Can I make these on just a regular baking sheet with parchment paper?
I don’t think they’ll puff quite as well. Look in the post for the alternative methods. Do you have a cast iron skillet you could preheat?
Perfection in pita form. This recipe is delicious and absolutely full proof. I’ve made it a dozen times and the result is impossibly perfect pita pockets every time. They puff dramatically and taste light and airy. So pretty that I took photos!
Two comments. First, I don’t always have time to make it in one day, so I’ve experimented by making the dough the day before through the first rise and putting it in the refrigerator overnight, then followed the remaining instructions the next day (plus an extra 20-30 minute rise at the ball stage to allow it to get it to room temp). Still perfect results. Second, my rapid rise yeast (Flesihmans) doesn’t fully dissolve, so I add it to the water first and give it a minute.
Only go down this pita path if you’re committed indefinitely. My family now openly disdains store bought pita 😆 My young son demands homemade pita sandwiches for his lunch. Double the recipe and freeze the extra or you’ll be making pita all the time.
Alexandra knocked it out of the park with this recipe.
So nice to read all of this, Kal 🙂 🙂 🙂 And thanks for sharing your tips regarding spreading the work over two days and the yeast — great suggestions!
A very tasty and simple recipe. You will not be disappointed! Served with a grilled chicken breast and side pasta salad. Can’t wait to try Alexandra’s Mother’s Peasant Bread!
Great to hear, David!
Thank you so much for posting this simple recipe that works !
I made these today to go with babaganoush and they came out delicious! I didn’t have a pizza stone so I used a sheet pan with parchment and to my surprise they puffed 😀
Great to hear, Vanessa! Thanks so much for writing 🙂
My oven only goes up to 525F. I preheated the stone on the lowest rack. I doubled the recipe. All 12 puffed!
Great to hear! Thanks for writing 🙂
I had whey on hand [DH made farmer cheese] and used it as the liquid instead of water. I also put 3 pitas on one sheet of parchment paper which minimized keeping the oven door open. One key to your recipe’s success is putting the rolled rounds on parchment paper which keeps my hands away from the hot pizza stone.
Your recipe is the first time that all of the pitas puffed up!
Great to read all of this, Monica! Such a great use of the whey, too. Thanks for writing!
Thank you for the recipe. This is the first time I’ve made pita bread that puffed. I’m quite excited about this! I would have liked them slightly thicker. Do you think they will still puff if I make 4 instead of 6 next time (to make them thicker)?
I do! Go for it 🙂
These turn out perfectly every time. I purchased a baking steel on Ali’s recommendation, makes it so much easier. Thank you for a great recipe!
Great to hear, Janis!
Thank you for posting this recipe. I made these pitas this afternoon and they came out perfect. Your recipe and instructions were easy to follow…the pitas puffed up in the oven and made perfect little pockets…even though some of mine were not exactly round.
Great to hear, Irene! Thanks for writing 🙂
Had oven at 475 and baked 6 minutes.
Worked perfectly!
Great to hear! Thanks for sharing your notes 🙂
I will make the pita today, thank you for your recipe. This is my maiden voyage, so I will see how it turns out. I have baked bread for 60 years, so it should be good.
Good luck, Anne!
Another WINNER!. My co-worker made Gyros on her rotisserie, I brought the pitas and a greek salad. AMAZING!!! Making them again on Tuesday for “family lunch” on Wednesday with my co-worker smoking a greek pulled pork. Bunch a foodies here at Albany Med!
So fun to read all of this!!! Love thinking about this happening just down the road 🙂 🙂 🙂 Thanks so much for writing.
Thank you so much for this recipe! I made the pitas yesterday night to go with vegetarian chili and it turned out so beautifully. My oven only goes up to 480 F but the pitas puffed up perfectly nevertheless. In the space of two weeks I made your overnight focaccia, your hummus and now these pitas, and ALL of them were really delicious! My family and friends are so happy and you’ve given me confidence in my ability to cook 🙂
So nice to read all of this, Lulu! Thanks so much for writing 🙂 🙂 🙂
Mine didn’t puff up, but I will try again.
So which temperature is it? 475 or 550? Also, do you think bread flour can be switched out with AP flour? I use bread flour for making naan
550ºF
Yes to bread flour 👍